Understanding Finish Trim and Its Role in Home Decor
Finish trim serves as the quintessential finishing touch in interior design and home finishing, elevating a space from basic construction to a polished, cohesive environment. Its importance cannot be overstated, as correctly selected and installed trim adds architectural interest, hides imperfections, and enhances the overall aesthetic appeal of a room. Whether framing windows and doors or lining baseboards and crown moulding, finish trim defines the character and style of a space. To truly master the art of finish carpentry, homeowners and professionals alike must understand the fundamental concepts, varieties, and best practices involved in selecting and installing finish trim. As part of comprehensive home improvement projects or renovation endeavors, finish trim transforms raw spaces into elegant, refined environments that reflect personal taste and craftsmanship.
For those initiating a remodel or building a new home, exploring the vast world of finish trim and understanding its role becomes a pivotal element of project planning. This article dives deep into the essential knowledge, offering practical guidance, industry insights, and expert tips to achieve impeccable results. Whether you’re a DIY enthusiast or professional contractor, harnessing the power of well-chosen finish trim can be the difference between a good finish and a stunning one. Finish trim is more than just decorative; it is a critical component that influences interior harmony and adds value to any property.
Choosing the Right Finish Trim for Your Space
Selecting Materials Based on Room Use and Aesthetics
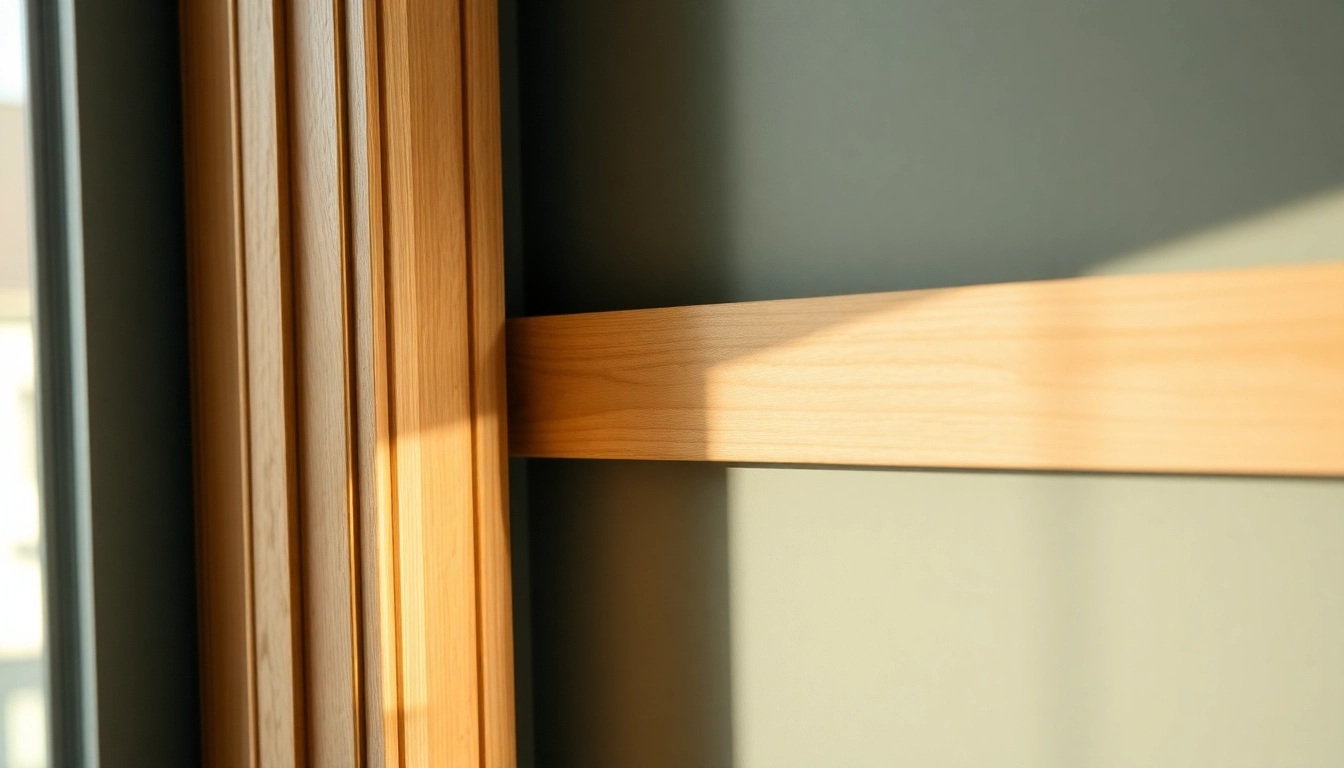
The selection of finish trim materials hinges on numerous factors, including room purpose, design style, environmental conditions, and budget. For high-traffic areas such as hallways or kitchens, durable materials like MDF or PVC offer resistance to moisture, scratches, and impact. Conversely, for formal dining rooms or elegant living spaces, real wood options—such as oak, cherry, or maple—provide warmth, richness, and the ability to stain or paint to match decor.
In addition to durability, aesthetic considerations guide material choice. For a modern look, clean-lined, painted MDF or PVC trims work well, offering a sleek and minimalistic appearance. Traditional spaces benefit from detailed wood trims with intricate profiles. When selecting materials, consider their compatibility with flooring, cabinetry, and wall treatments to ensure a harmonious visual flow. Furthermore, assessing the environment—such as humidity levels or exposure to moisture—helps determine the most suitable material for longevity and performance.
Matching Finish Trim with Architectural Style
Celebrated architectural styles demand specific trim profiles and materials. For instance, Colonial and Victorian homes favor ornate crown mouldings, wainscoting, and intricate baseboards crafted from richly stained woods. Contemporary and modern designs often favor flat, simple profiles combined with painted finishes to emphasize minimalism. Craftsman or rustic interiors look best with mission-style or wood-stained trims, emphasizing craftsmanship and natural materials.
Understanding these stylistic nuances ensures that the finish trim complements the overall architecture, enhancing authenticity and visual cohesion. For example, a sleek, unadorned trim profile suits a modern, open-concept space, while intricate mouldings elevate traditional interiors. Proper matching ensures consistency across your design scheme, creating a unified and aesthetically pleasing environment.
Cost Considerations and Budgeting Tips
Budgeting for finish trim involves consideration of material costs, labor, and desired finish quality. Natural hardwoods like oak and cherry carry premium prices but deliver unmatched beauty and durability. MDF or PVC trims are more economical and easier to install, ideal for budget-conscious projects. When planning, quantify the total linear footage needed, account for waste and cuts, and compare prices across suppliers.
Additional cost factors include the complexity of profiles—simpler designs generally cost less and take less time to install. Do not overlook finishing costs; high-quality paints, stains, and sealants contribute significantly to the final look and longevity. A strategic approach balances material quality with budget constraints, prioritizing areas where craftsmanship will be most visible, such as entryways or main living areas.
Preparation and Installation of Finish Trim
Measuring and Planning for Precision Fit
Accurate measurements are the foundation of flawless finish trim installation. Begin by carefully measuring wall lengths, door and window openings, and ceiling perimeters. Use a high-quality tape measure, and double-check your readings to minimize errors. Mark measurements directly on your trim material with a pencil, and confirm before cutting. It’s advantageous to add a slight allowance—typically 1/16 to 1/8 inch—to accommodate expansion and contraction, especially in environments with fluctuating humidity.
Planning involves sketching your layout and listing each piece with exact measurements. This step ensures that cuts are precise and reduces waste. For complex corners and angled cuts, develop detailed diagrams beforehand. Also, organizing your tools and materials streamlines workflow, reducing frustration and increasing efficiency.
Tools and Techniques for Accurate Cutting and Mitering
Proper tools are essential in achieving precise cuts. A quality miter saw with adjustable angles provides clean miter cuts for corners and joints. A power saw designed for trim work, along with a square, tape measure, and pencil, forms the core toolkit. When making cuts, measure twice, cut once; this old adage minimizes mistakes and waste.
Advanced techniques include using a coping saw for inside corners, which provides a better fit than miter joints. For external corners, mitering at 45 degrees is standard, but varying angles may be necessary for non-standard wall corners. Sanding edges after cutting ensures smooth joints and reduces gaps during installation.
Step-by-Step Installation Guide
- Preparation: Gather all tools, measure, and cut all trim pieces according to your plan.
- Seam and Corner Joints: Dry-fit each piece to confirm fit and alignment, making adjustments as necessary.
- Adhesion and Fastening: Apply construction adhesive to back of trim if needed, then secure with finish nails or nail guns. Use a level to ensure horizontal or vertical alignment.
- Corner Handling: Use mitered joints for external corners or coping for inside corners for seamless appearance.
- Final Checks: Inspect fit, make final adjustments, and fill nail holes with wood filler or caulk.
Patience and attention to detail during these steps foster a high-quality, professional finish.
Finishing Touches for a High-Quality Finish
Sanding, Filling, and Smoothing the Surface
Achieving a flawless finish requires meticulous surface preparation. After installation, sand all joints, nail holes, and edges with fine-grit sandpaper to remove ridges, glue marks, and rough spots. Use a sanding block or a detail sander for precision. Filling gaps and holes with quality wood filler or caulk ensures a smooth surface. Once dried, sand again to achieve an even, polished look, ready for finishing coatings.
Painting, Staining, and Sealing Finish Trim
The final aesthetic appearance depends heavily on the finishing process. For a painted look, apply a primer to enhance adhesion, then follow with two or more coats of high-quality paint or latex suitable for trim, such as Benjamin Moore Aura interior latex. Use a fine brush or roller for smooth application, and employ painter’s tape to protect adjacent surfaces.
Staining natural wood trims emphasizes the grain and adds warmth. Use a pre-conditioner for uneven wood or softwoods to prevent blotchiness. After staining, apply a clear sealant or polyurethane for protection against wear and moisture. Sealing is especially critical in kitchens and bathrooms.
Common Mistakes to Avoid for a Flawless Result
- Incorrect measurements leading to gaps or overlaps
- Poor miter cuts causing misaligned joints
- Uneven surface preparation resulting in visible flaws
- Skipping surface finishing steps such as filling or sanding
- Applying insufficient coats of paint or sealant
Being vigilant about these pitfalls ensures a professional-grade finish that stands the test of time.
Maintaining and Enhancing Finished Trim Over Time
Cleaning and Routine Maintenance
Maintaining the beauty of finish trim involves regular cleaning to remove dust and dirt. Gentle dusting with a microfiber cloth or vacuum using a brush attachment preserves the finish. For more stubborn stains, a damp cloth with mild soap suffices—avoid harsh chemicals that can damage paint or stain coatings. Periodic inspection helps identify issues like chips, cracks, or discoloration early, facilitating timely repairs.
Addressing Damage and Wear
Over time, trim may suffer from scratches, dents, or paint chipping. Small damages can be repaired by sanding and touch-up painting or staining. Larger repairs might require removing the damaged section and replacing or re-finishing it. Ensuring that previous coatings are properly prepped before touch-ups is essential for seamless repairs. For high-traffic areas, consider applying additional sealant or protective coatings periodically to prolong lifespan.
Updating Finish Trim for a Fresh Look
Updating trim is a strategic way to refresh a room’s appearance. Painting or staining existing trim in a new color can dramatically alter the room’s vibe. Removing old trim and installing new profiles is an option for a more transformative update. Matching new trim styles with existing architectural features maintains cohesion, but it also offers an opportunity to experiment with contemporary or decorative mouldings that reflect current interior design trends.